Examity Student Quick Guide
Accessing Examity®
You can easily access Examity® through Moodle.
First, select the name of your course. Next, click on the Examity® link.
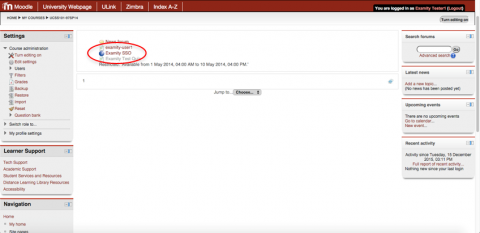
This will bring you to your Examity® dashboard.
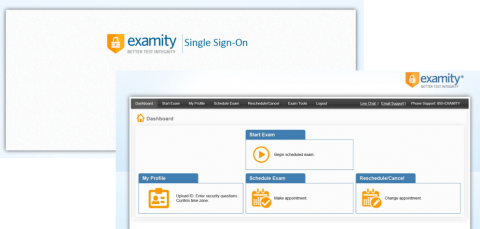
From here, you can create or edit your profile and schedule, reschedule or cancel your exam. This is also where you will go to start your exam.
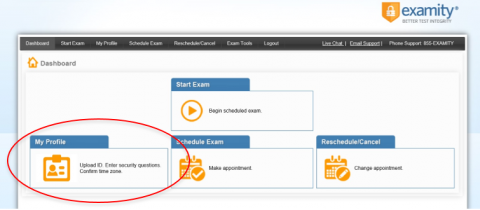
Getting Started – Creating Your Profile
You must complete your profile in order to schedule your exam. Create your Examity® profile by selecting “My Profile” from the dashboard.
First, select your time zone. Then upload your picture identification card. Please note, for verification purposes, you will need to bring this ID with you every time you take a test. Next, select and answer three unique security questions
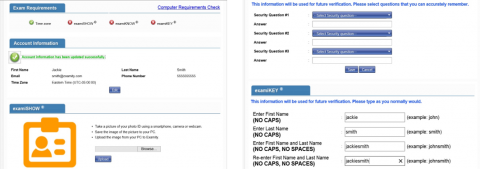
Finally, enter your keystroke biometric signature.
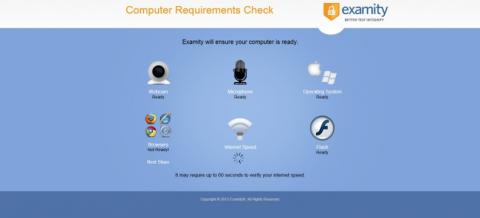
Once your profile is complete, you are strongly encouraged to run a computer requirements check. To complete a computer requirements check, click the link in the upper right hand corner of the “My Profile” page. You should run the check on the same computer you will be using to take the exam.
Scheduling Your Exam
When you are ready to schedule an exam, click “Schedule Exam” on the dashboard.
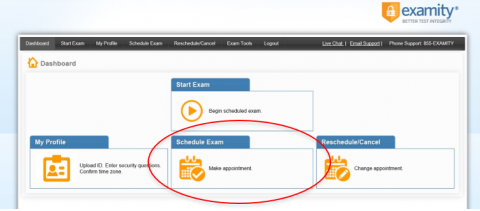
Select your instructor, course and exam name from the drop down menus. Next, you will see a calendar. Select your preferred date and time. If you are scheduling less than 24 hours in advance, you must select the “On-Demand” scheduling option (see toggle at top-right of image below).

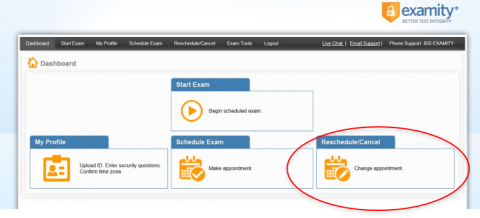
Rescheduling or Cancelling Your Exam
If you need to reschedule or cancel your exam, click the “Reschedule/Cancel” tab on the top navigation bar or on your dashboard. Select the exam you want to reschedule or cancel from the menu that appears.
Taking Your Exam
On your Examity® dashboard, select “Start Exam” and click on “Connect to Proctor.”
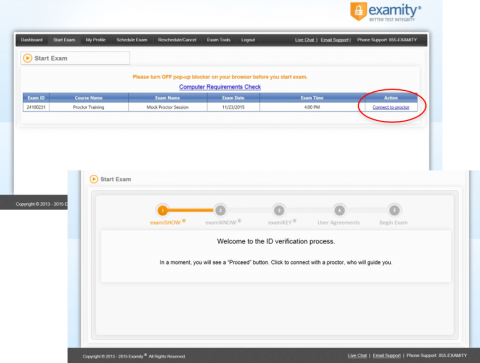
Proctor support will walk you through the authentication process. You will be asked to:
1. Verify your identity. Make sure you have your photo ID with you. You will be required to hold the ID in front of your webcam. The proctor will need to see both your name and photo clearly.
2. Review the exam rules.
3. Show your desk and workspace. The proctor will ask you to complete a 360˚ room pan and desk sweep with your webcam. This is to ensure your workspace is clear of any materials unauthorized by your instructor.
Next, answer a security question.
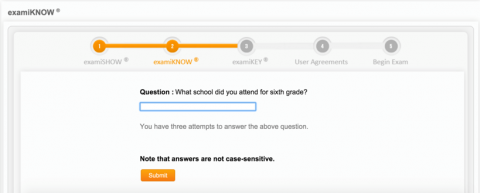
Type your unique biometric signature as per your profile setup.

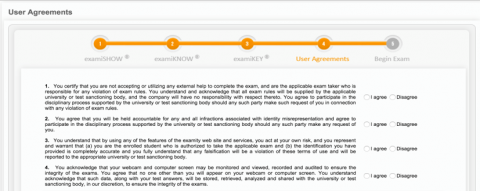
Agree to the user agreement and exam rules.
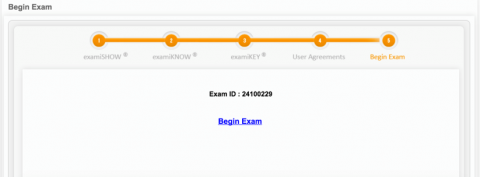
Once you have finished the authentication process, click on the “Begin Exam” link. Your proctor will enter the password for you. Once the password has been entered, you are ready to begin!
Please Note: We encourage test-takers to arrive 15 minutes prior to the start of their exam. This will allow ample time to connect with your proctor and troubleshoot any technical issues that may arise.
Also, the time it takes you to connect to proctor support and complete the authentication process does NOT count towards your exam duration.
MAKE SURE YOUR POP-UP BLOCKER IS DISABLED. Otherwise, you will not be able to connect with proctor support.
Examity® System Requirements
- You must take the exam on a desktop computer or laptop (not a tablet).
- You must have a working built-in or external webcam and microphone.
- Your Internet speed must be at least 2 Mbps download and 2 Mbps upload. Determine your Internet speed by running a test at: http://www.speedtest.net
- Click the following link to determine if your device is ready for online proctoring: https://prod.examity.com/systemcheck/ComputerReadinessCheck1.aspx
Reaching Support. All day and all of the night.
Phone: 855-392-6489
Email: support@examity.com
Live Chat: Click on the live chat link located at the top and bottom of your Examity® portal.